Use Cloudflare for DNS, Security, and Performance
Secure and accelerate your website with Cloudflare's free tier — the internet's most popular reverse proxy and CDN.
What is Cloudflare?
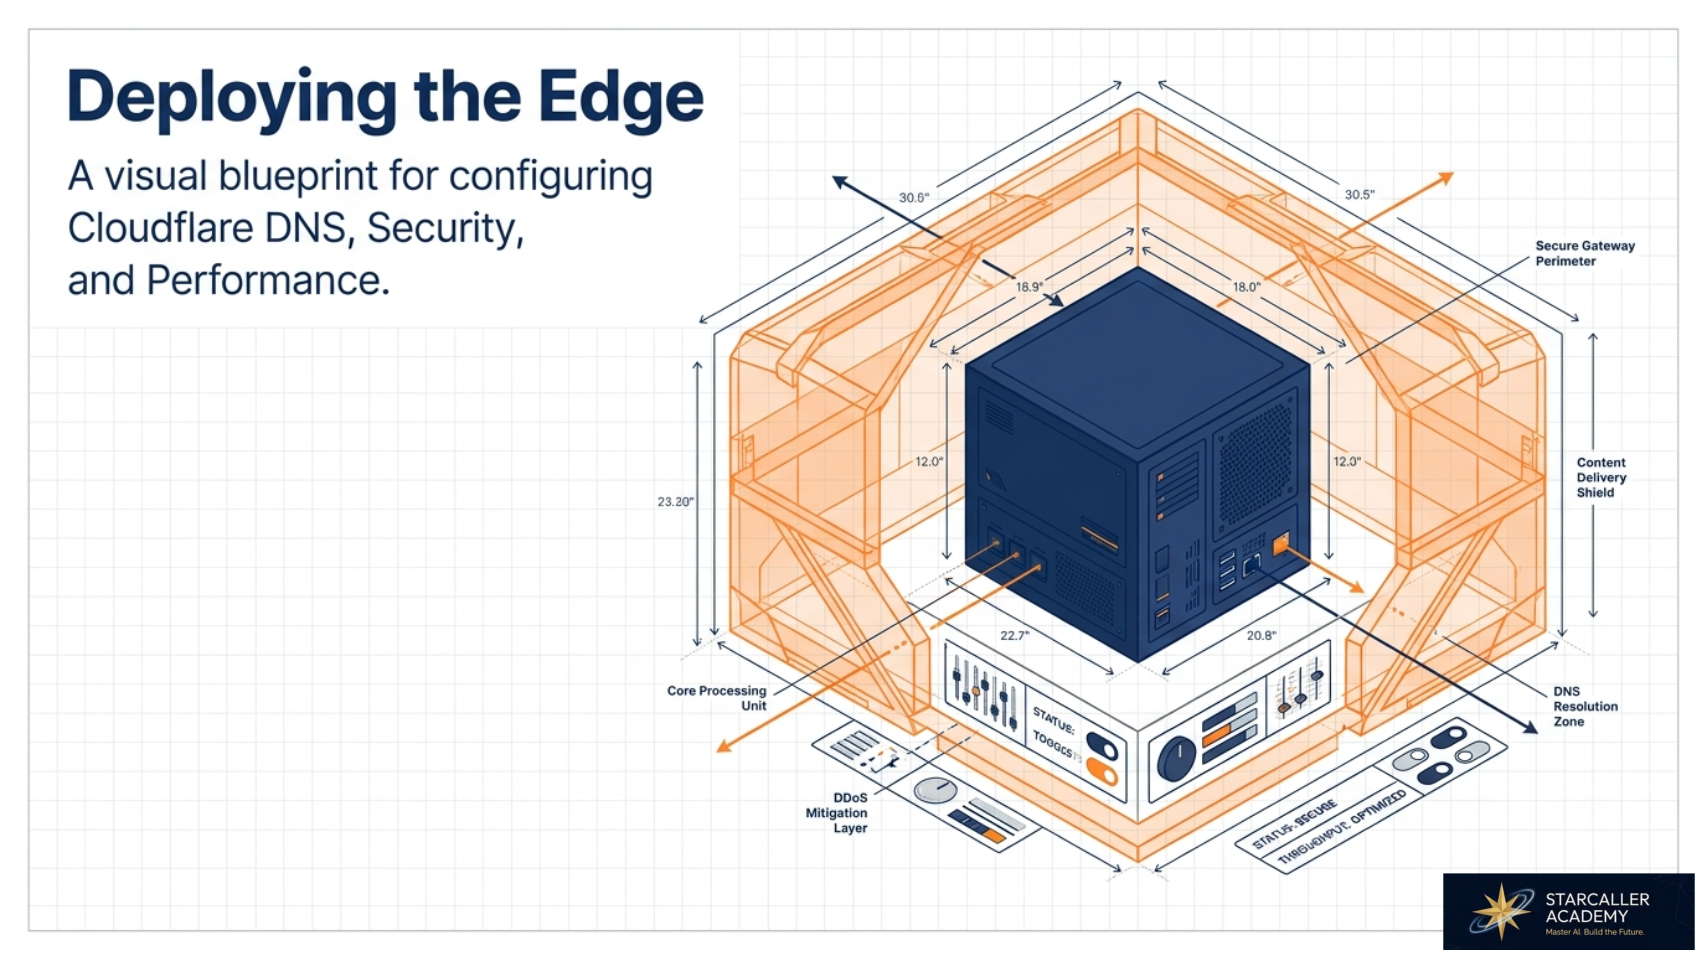
Cloudflare is a global network that sits between your visitors and your web server, providing DDoS protection, SSL/TLS encryption, DNS management, and content caching — all with a generous free tier. It acts as a reverse proxy, meaning traffic flows through Cloudflare's edge network before reaching your origin server. This guide walks you through setting up Cloudflare for your domain from scratch, including DNS, security hardening, performance optimization, and exposing local services with Cloudflare Tunnel.
Step 1. Create an Account and Add Your Domain
Getting started with Cloudflare takes just a few minutes:
- •Go to cloudflare.com and click Sign Up. Create a free account with your email address.
- •Once logged in, click Add a Site and enter your domain name (e.g.,
example.com). - •Cloudflare will scan your existing DNS records and import them automatically. Review the list and confirm the records you want to keep.
- •Select the Free plan — it includes DNS management, SSL/TLS, DDoS protection, and global CDN.
Step 2. Change Nameservers at Your Registrar
Cloudflare provides two nameservers — you need to update your domain registrar to point to them:
- •Cloudflare will display two nameserver addresses (e.g.,
alice.ns.cloudflare.comandbob.ns.cloudflare.com). Copy both. - •Log into your domain registrar (Namecheap, GoDaddy, Google Domains, etc.) and find the nameserver settings for your domain.
- •Replace the existing nameservers with the two Cloudflare nameservers and save changes.
- •Propagation can take up to 48 hours, though it's often much faster. Cloudflare will email you once the change is confirmed.
Step 3. DNS Management
Once your nameservers are pointing to Cloudflare, manage all DNS records from the Cloudflare dashboard. Here are the key record types:
- •A Record: Points a domain to an IPv4 address. Example:
@ → 192.0.2.1maps your root domain to your server's IP. - •CNAME Record: Points a subdomain to another domain name. Example:
www → example.commakes the www subdomain an alias of your root. - •MX Record: Routes email for your domain to a mail server. These are critical if you use custom email hosting.
- •The orange cloud icon means traffic is proxied through Cloudflare (hiding your origin IP and enabling CDN/security). The gray cloud means DNS-only (direct connection). For web traffic, keep the orange cloud enabled.
Type Name Content TTL Proxy A @ 192.0.2.1 Auto 🟠 Proxied CNAME www example.com Auto 🟠 Proxied MX @ mail.example.com Auto ⚪ DNS only
Step 4. Enable Security Features
Cloudflare's free security features are powerful. Configure these immediately after setup:
- •Go to SSL/TLS → Overview and set the mode to Full (strict). This encrypts traffic between Cloudflare and your origin server with a valid certificate.
- •Navigate to Security → Bots and enable Bot Fight Mode. This blocks known scrapers and malicious bots at the edge before they reach your server.
- •Under Security → WAF, create custom firewall rules to block suspicious countries, IP ranges, or request patterns. The free tier allows up to 5 custom rules.
- •Enable Always Use HTTPS under SSL/TLS → Edge Certificates to redirect all HTTP traffic to HTTPS automatically.
Step 5. Performance Tuning
Cloudflare can significantly speed up your site with these free performance features:
- •Go to Speed → Optimization and enable Auto Minify for JavaScript, CSS, and HTML. This removes unnecessary whitespace and comments from your assets.
- •Enable Brotli compression — a modern compression algorithm that produces smaller files than gzip, reducing bandwidth and load times.
- •Configure Caching Rules under Caching → Cache Rules to control which content is cached at the edge. Cache static assets like images, CSS, and fonts aggressively.
- •Set your Cache Level to "Standard" (or "Cache Everything" for fully static sites) and enable Rocket Loader for faster JavaScript execution.
Step 6. Cloudflare Tunnel
Cloudflare Tunnel lets you expose local services to the internet without opening firewall ports. It creates an encrypted tunnel from your machine to Cloudflare's edge:
- •Install cloudflared — the command-line client for Cloudflare Tunnel. It's available for Linux, macOS, and Windows from the Cloudflare dashboard or package managers.
- •Authenticate with your Cloudflare account by running
cloudflared tunnel login. This opens a browser for authorization. - •Create a named tunnel:
cloudflared tunnel create my-tunneland then map it to your local service. - •For quick testing, use the trycloudflare.com shortcut — no account needed — which generates a temporary public URL for your local server.
# Quick tunnel: expose localhost:8080 to the internet cloudflared tunnel --url http://localhost:8080
Quick Tips
- •Cloudflare Pages: Host static sites (React, Vue, Hugo, etc.) directly on Cloudflare's edge network with automatic deployments from your Git repository — completely free.
- •Cloudflare Workers: Run serverless JavaScript at Cloudflare's edge — great for API proxies, A/B testing, and request modification without managing infrastructure. Free tier includes 100,000 requests per day.
- •Cloudflare R2: S3-compatible object storage with zero egress fees — ideal for storing images, backups, and static assets for your applications.
Visual Walkthrough
Need More Help?
Cloudflare has a vast ecosystem. Check out our other networking and security guides, or reach out with questions.
Browse All Guides